No items found.
How to Feed Your Sourdough Starter
Breads
Ingredients:
- 100–500 g sourdough starter
- 100–500 g (about ¾–3¾ cups) flour
- 100–500 g (about ½–2½ cups) water
Equipments:
- Digital kitchen scale
- Glass jar (at least 500 ml / 16 oz)
- Rubber band or marker (to track rise)
- Spoon or spatula
Soy-Free
Nut-Free
Features:
Soy-Free
Nut-Free
Nutrition:
Instructions:
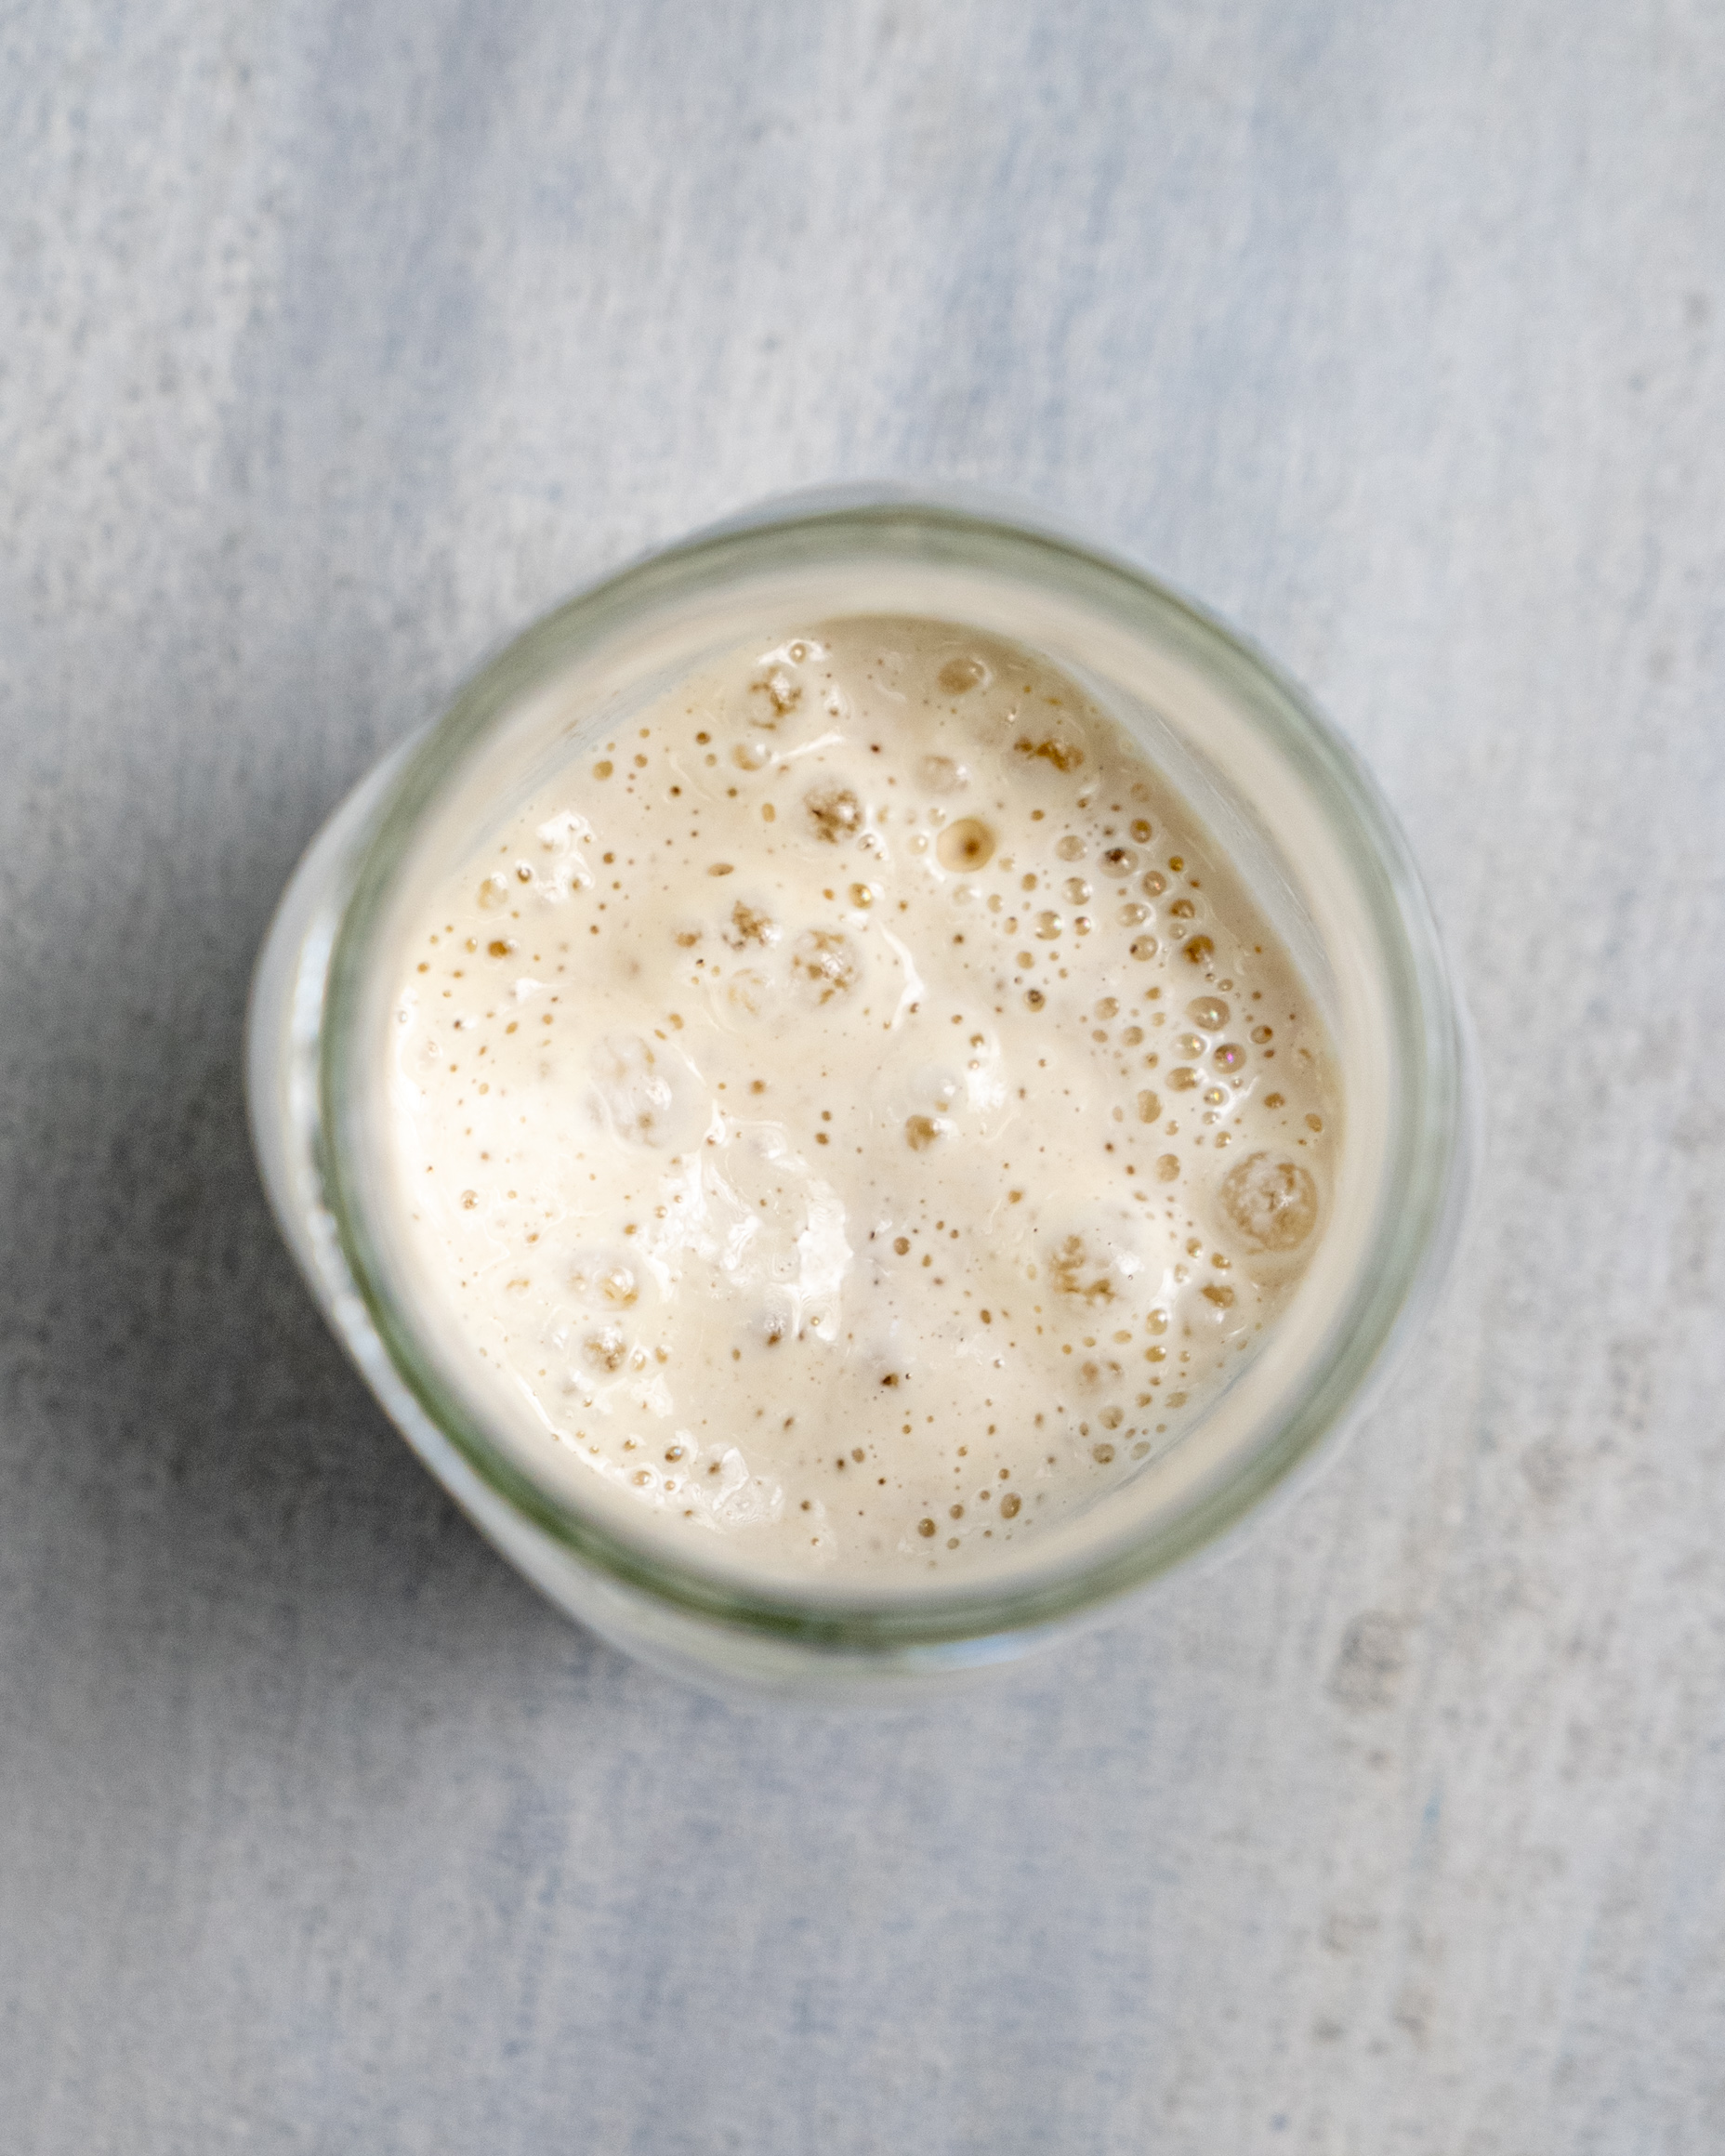
- Prep Your Starter
Ensure your starter is active and bubbly. It should have doubled in size within 4–6 hours of its last feeding. - Measure the Flour
Using a kitchen scale, measure 100–500 g flour into a clean jar. - Measure the Water
Add an equal weight of room temperature water (100–500 g) to the flour. - Add the Starter
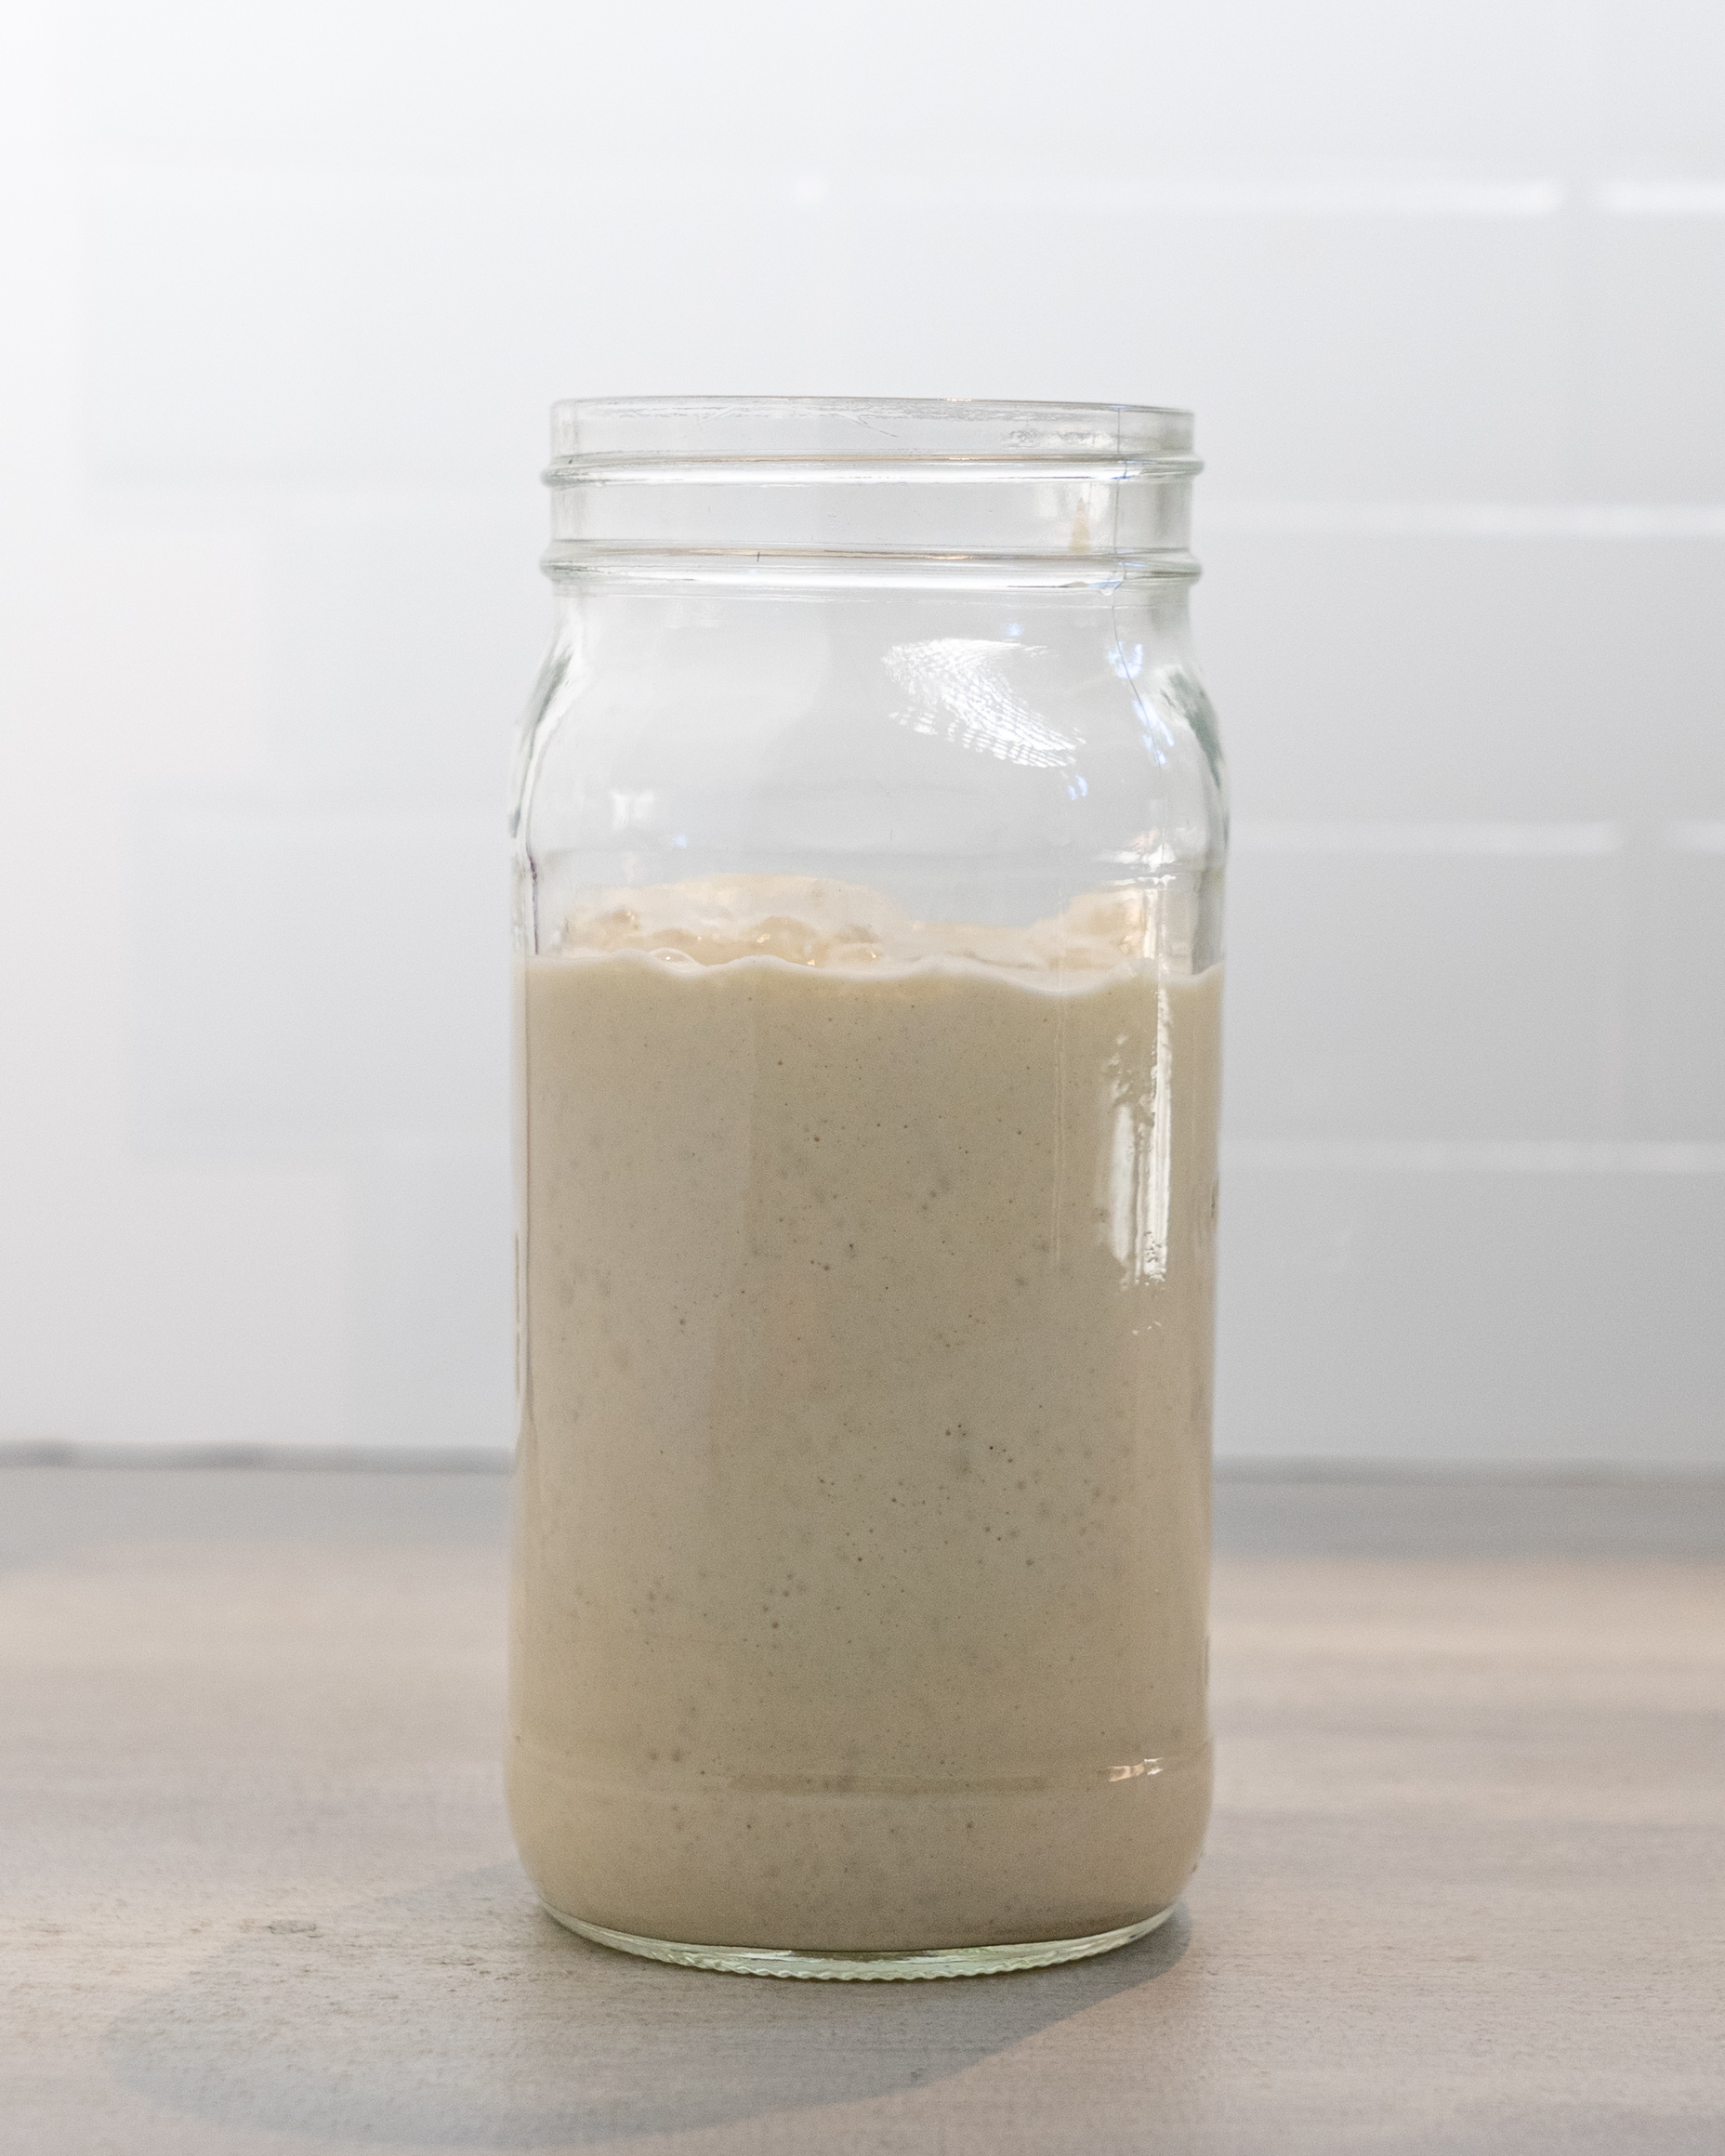
Add your existing starter (100–500 g) to the flour and water. Stir vigorously until fully combined and no dry flour remains. - Mark and Cover
Mark the level on the outside of the jar. Cover loosely and leave at room temperature. - Monitor
Over the next 4–6 hours, the starter should bubble, rise noticeably, and dome. When it has doubled and is still domed (not collapsed), it is at peak activity and ready to use.
Why these Ingredients
Common Mistakes, Notes, Prep in Advance, Storage, Swaps & Tips
Notes:
- A 1:1:1 ratio of starter : flour : water is the standard feeding ratio. For a milder flavor and slower rise, use a 1:2:2 or 1:5:5 ratio.
- Whole wheat or rye flour accelerates fermentation and boosts activity — great for sluggish starters.
Storage:
- Once active, store in the fridge and feed 1–2 times per week. When ready to bake, take out, feed once or twice, and use when bubbly and doubled.
Tips:
- Use filtered or boiled and cooled water — chlorine in tap water slows fermentation.
- Don’t throw away discard — use it in crackers, pancakes, flatbreads, or muffins.
How to Feed Your Sourdough Starter
1 Jar
Prep 5 min
Ferment 2–7 days
Ingredients:
- 100–500 g sourdough starter
- 100–500 g (about ¾–3¾ cups) flour
- 100–500 g (about ½–2½ cups) water
Features:
Soy-Free
Nut-Free
Instructions:
- Prep Your Starter
Ensure your starter is active and bubbly. It should have doubled in size within 4–6 hours of its last feeding. - Measure the Flour
Using a kitchen scale, measure 100–500 g flour into a clean jar. - Measure the Water
Add an equal weight of room temperature water (100–500 g) to the flour. - Add the Starter
Add your existing starter (100–500 g) to the flour and water. Stir vigorously until fully combined and no dry flour remains. - Mark and Cover
Mark the level on the outside of the jar. Cover loosely and leave at room temperature. - Monitor
Over the next 4–6 hours, the starter should bubble, rise noticeably, and dome. When it has doubled and is still domed (not collapsed), it is at peak activity and ready to use.