





Repurposed Jar Ideas
How-tos
Ingredients:
- 1 clean empty glass jar (any size)
- 1 cup soy wax flakes
- 1 candle wick with metal tab
- 15–20 drops essential oil (lavender, vanilla, or citrus)
- 1 pencil or chopstick (to hold wick)
- Optional: dried flowers or herbs for decoration
- 1 large clean glass jar
- Twine or ribbon
- Hot glue gun
- Paint or chalkboard paint (optional)
- 1 clean glass jar (tall and narrow works best)
- Fresh herb cuttings (basil, mint, rosemary)
- Room temperature water
- Small pebbles (optional, for stability)
Equipments:
Features:
Gluten-Free
Grain-Free
Soy-Free
Oil-Free
Refined Sugar-Free
Nut-Free
Nutrition:
This is a zero-waste DIY project — no calories here! 🌿
- Waste diverted: 1–3 glass jars kept out of recycling
- Cost savings: Homemade candle ~$5 vs $20+ store-bought
- Carbon footprint: Reduced by reusing instead of purchasing new
- Shelf life: Candle 40–50 burn hours | Utensil holder indefinite | Herb station ongoing


.svg)
.svg)
Let the wick's wax-dipped base fully set for the full 5 minutes before pouring the rest of the wax — this is what keeps the wick anchored upright and centered instead of drifting as the candle sets.
Instructions:
Option 1: Homemade Soy Candle
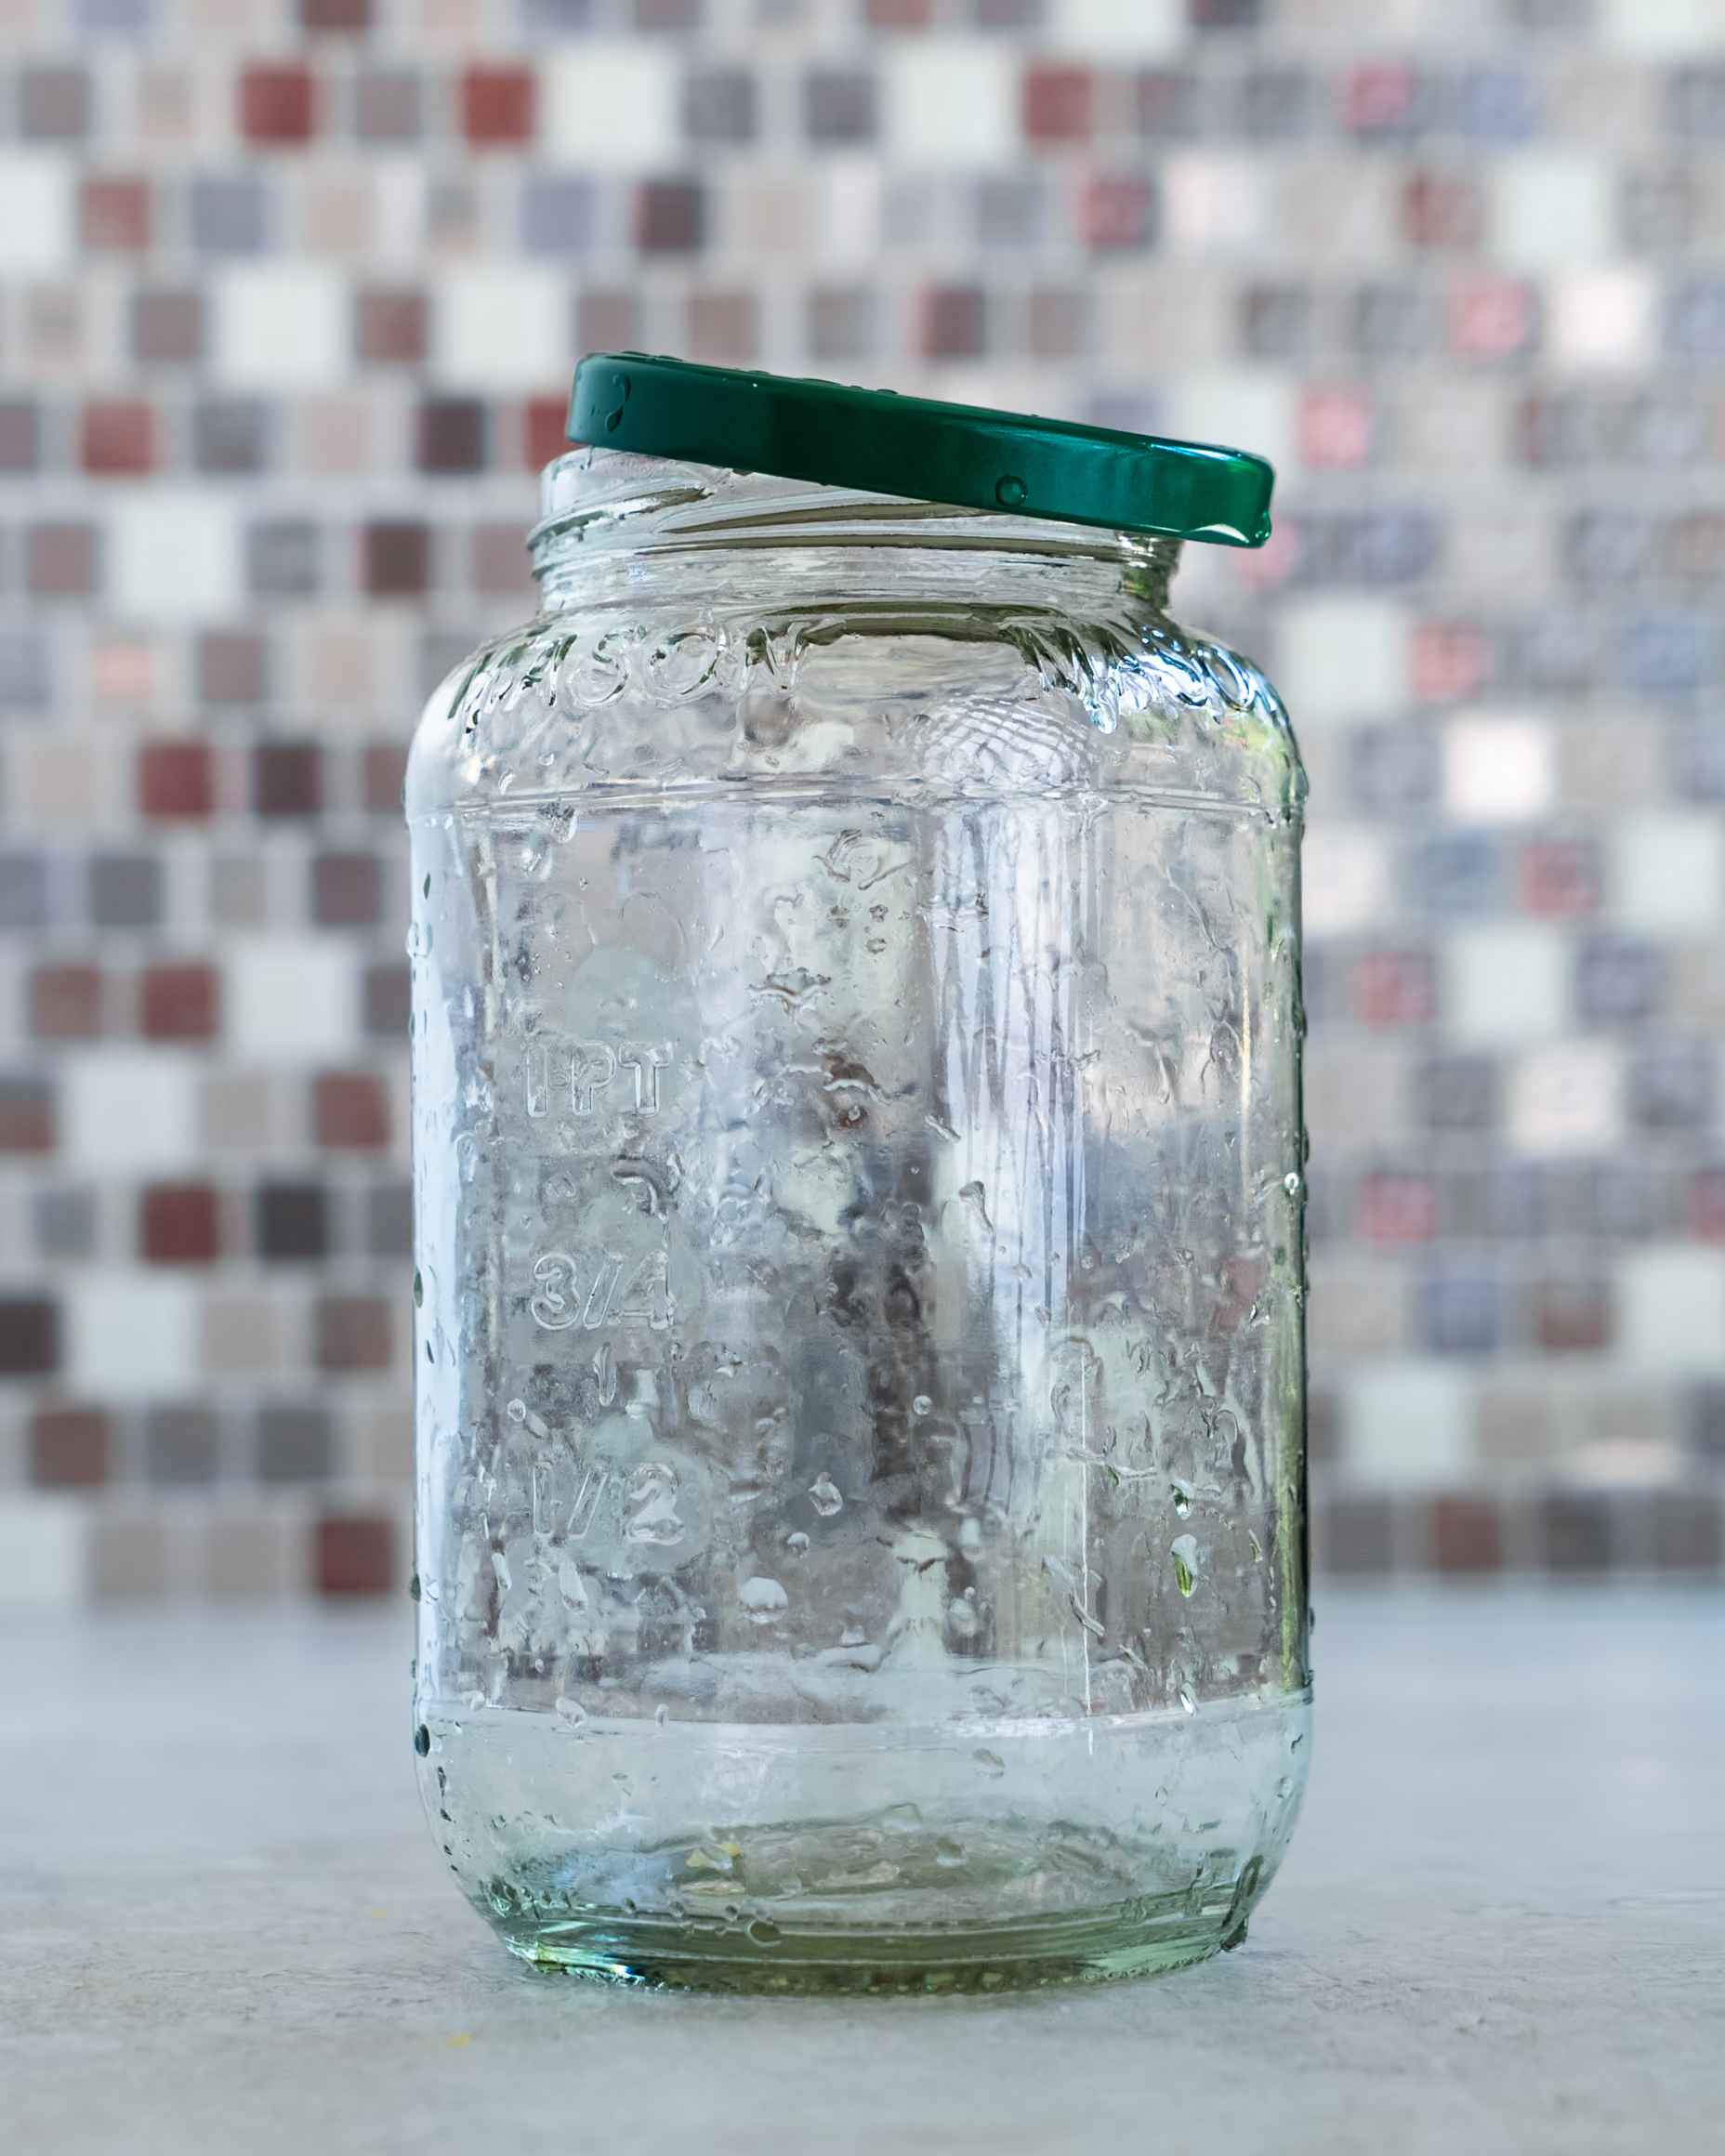
- Clean the jar — Wash thoroughly with warm soapy water and dry completely. Remove labels.
- Prep the wick — Dip the metal tab of the wick in a small drop of melted wax and press it firmly to the bottom center of the jar. Let it set for 5 minutes.
- Hold the wick upright — Rest the wick across a pencil or chopstick laid over the jar opening. This keeps it centered while pouring.
- Melt the wax — Melt soy wax flakes in a double boiler over medium heat, stirring gently until fully liquid (around 170°F / 77°C).
- Add scent — Remove from heat and let cool slightly to 140°F (60°C), then stir in essential oils.
- Pour — Slowly pour the wax into the jar, leaving about ½ inch of space at the top.
- Cure — Allow to cool at room temperature for 24–48 hours. Trim the wick to ¼ inch before lighting.
Option 2: Kitchen Utensil Holder
- Clean and dry — Remove all labels and wash the jar well. Let it dry fully.
- Paint (optional) — Apply chalkboard paint or a color of your choice. Let each coat dry before adding the next (2–3 coats recommended).
- Add twine — Wrap twine around the neck of the jar several times and secure with a knot or hot glue for a rustic look.
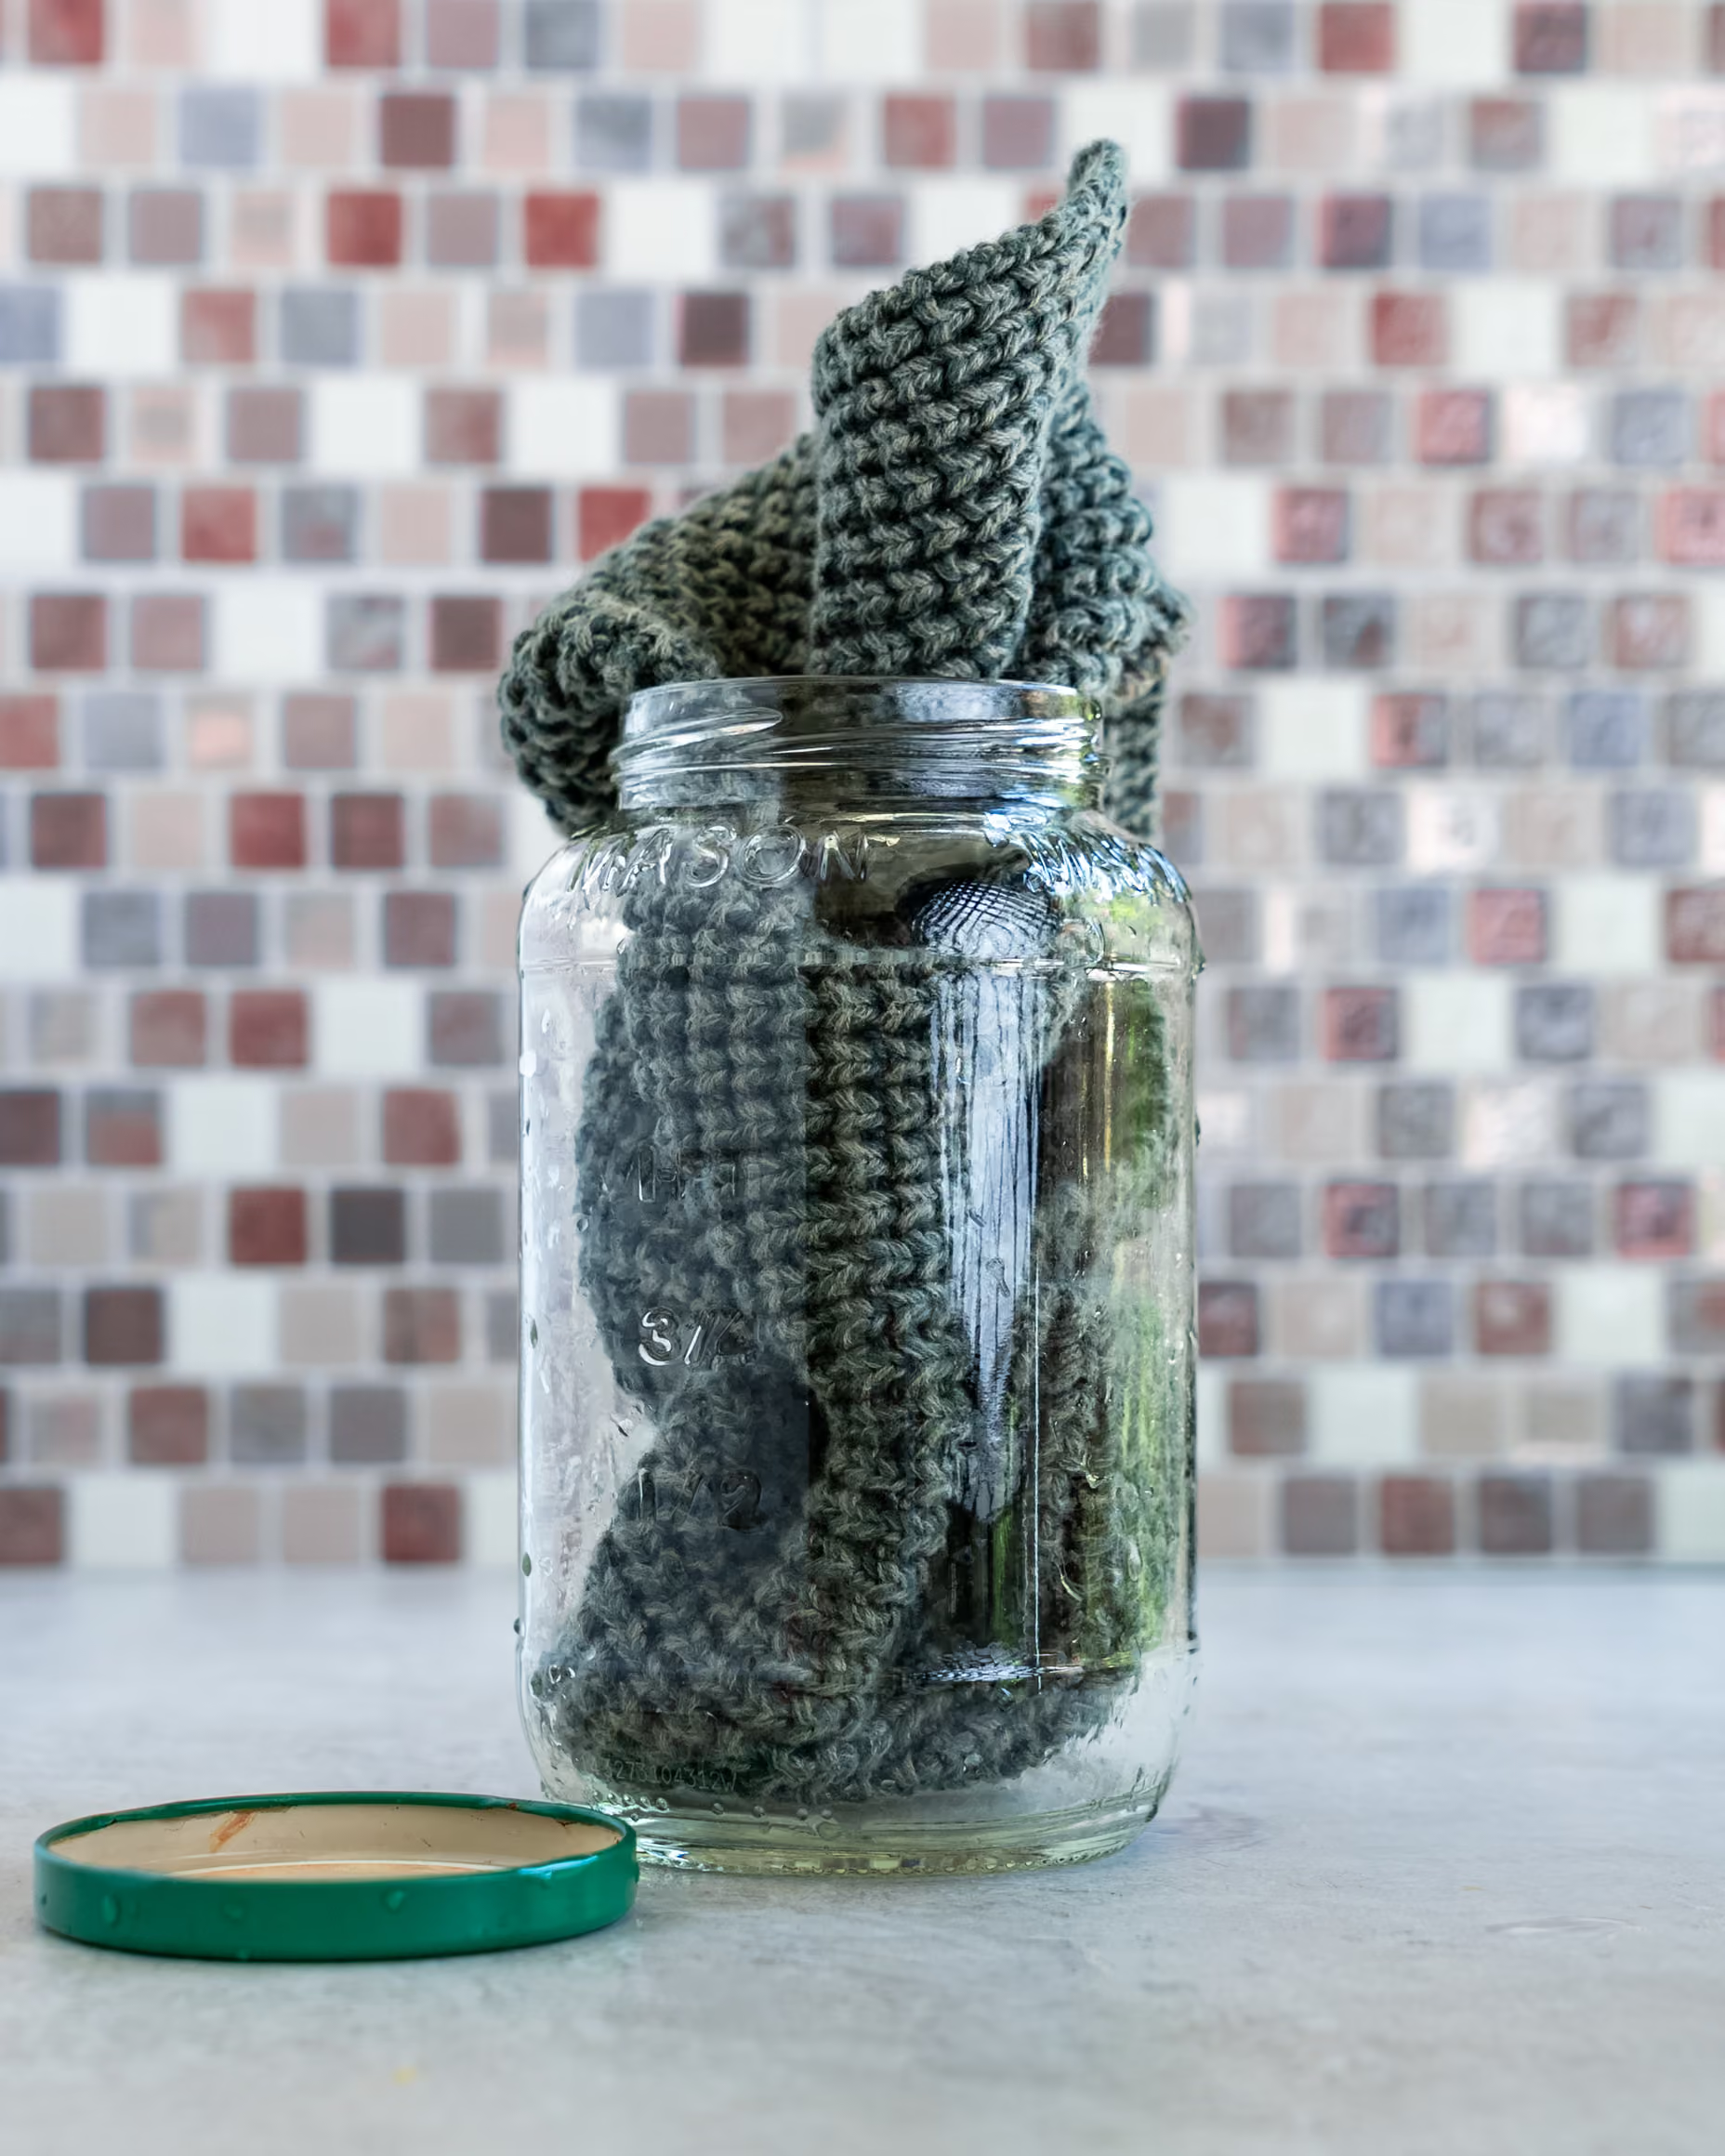
- Fill and display — Place on your countertop and fill with spatulas, wooden spoons, whisks, or scissors.
Option 3: Herb Propagation Station
- Prep the cuttings — Snip 4–6 inch sprigs from fresh herbs just below a leaf node. Remove leaves from the bottom 2 inches.
- Fill the jar — Add room temperature water to about half the jar. Optionally add a few pebbles to stabilize the stems.
- Place cuttings — Drop the herb stems in, making sure no leaves are submerged.
- Find the light — Place on a sunny windowsill. Change the water every 2–3 days.
- Wait for roots — Roots typically appear within 1–3 weeks. Once roots are 1–2 inches long, transplant to soil or keep growing in water.
Tips & Notes: Mason jars and pasta sauce jars are ideal — thick glass handles heat well for candles. Wider mouth jars are easier to work with for candle pouring and utensil holders. For propagation, clear glass lets you watch roots grow. If the jar has a stubborn label, soak in warm water with a drop of dish soap for 10 minutes, then peel off. Remove any sticky residue with a little rubbing alcohol.
Even More Jar Repurposing Ideas: Overnight oats or meal prep: use wide-mouth jars for fridge storage. Piggy bank: cut a coin slot in the lid for a kids' savings jar. Fairy light lantern: fill with string lights for a cozy glow. Bathroom organizer: store cotton balls, Q-tips, or hair ties. Snow globe: glue a small figurine to the lid, fill with water and glitter. Salad-in-a-jar: layer greens, veggies, and dressing for an on-the-go lunch.
Storage: Candles: store in a cool, dry place away from direct sunlight to preserve scent. Utensil holder: wipe clean with a damp cloth, re-paint if needed annually. Herb station: change water every 2-3 days to prevent algae, and keep away from direct cold drafts.
Common Mistakes: Using thin decorative glass for candles — it can crack from heat; stick to thick glass jars. Pouring wax that's too hot — always let it cool to ~140°F before adding fragrance. Forgetting to change propagation water — stagnant water causes rot. Painting jars before cleaning them thoroughly — paint won't stick to greasy surfaces.
A few materials make these jar projects work well. Soy wax flakes melt evenly and burn cleanly, making them a better choice than paraffin for a homemade candle. Essential oils add fragrance without the synthetic feel of artificial scents. Twine and hot glue give the wrapped jars a rustic, secure finish, while fresh herb cuttings root easily in water, turning an empty jar into a simple propagation station.
Repurposed Jar Ideas
Ingredients:
- 1 clean empty glass jar (any size)
- 1 cup soy wax flakes
- 1 candle wick with metal tab
- 15–20 drops essential oil (lavender, vanilla, or citrus)
- 1 pencil or chopstick (to hold wick)
- Optional: dried flowers or herbs for decoration
- 1 large clean glass jar
- Twine or ribbon
- Hot glue gun
- Paint or chalkboard paint (optional)
- 1 clean glass jar (tall and narrow works best)
- Fresh herb cuttings (basil, mint, rosemary)
- Room temperature water
- Small pebbles (optional, for stability)
Equipments:
Features:
Why These Ingredients:
A few materials make these jar projects work well. Soy wax flakes melt evenly and burn cleanly, making them a better choice than paraffin for a homemade candle. Essential oils add fragrance without the synthetic feel of artificial scents. Twine and hot glue give the wrapped jars a rustic, secure finish, while fresh herb cuttings root easily in water, turning an empty jar into a simple propagation station.
Prep:
Let the wick's wax-dipped base fully set for the full 5 minutes before pouring the rest of the wax — this is what keeps the wick anchored upright and centered instead of drifting as the candle sets.
Instructions:
Option 1: Homemade Soy Candle
- Clean the jar — Wash thoroughly with warm soapy water and dry completely. Remove labels.
- Prep the wick — Dip the metal tab of the wick in a small drop of melted wax and press it firmly to the bottom center of the jar. Let it set for 5 minutes.
- Hold the wick upright — Rest the wick across a pencil or chopstick laid over the jar opening. This keeps it centered while pouring.
- Melt the wax — Melt soy wax flakes in a double boiler over medium heat, stirring gently until fully liquid (around 170°F / 77°C).
- Add scent — Remove from heat and let cool slightly to 140°F (60°C), then stir in essential oils.
- Pour — Slowly pour the wax into the jar, leaving about ½ inch of space at the top.
- Cure — Allow to cool at room temperature for 24–48 hours. Trim the wick to ¼ inch before lighting.
Option 2: Kitchen Utensil Holder
- Clean and dry — Remove all labels and wash the jar well. Let it dry fully.
- Paint (optional) — Apply chalkboard paint or a color of your choice. Let each coat dry before adding the next (2–3 coats recommended).
- Add twine — Wrap twine around the neck of the jar several times and secure with a knot or hot glue for a rustic look.
- Fill and display — Place on your countertop and fill with spatulas, wooden spoons, whisks, or scissors.
Option 3: Herb Propagation Station
- Prep the cuttings — Snip 4–6 inch sprigs from fresh herbs just below a leaf node. Remove leaves from the bottom 2 inches.
- Fill the jar — Add room temperature water to about half the jar. Optionally add a few pebbles to stabilize the stems.
- Place cuttings — Drop the herb stems in, making sure no leaves are submerged.
- Find the light — Place on a sunny windowsill. Change the water every 2–3 days.
- Wait for roots — Roots typically appear within 1–3 weeks. Once roots are 1–2 inches long, transplant to soil or keep growing in water.